We’re on a crusade to keep baby's breath arrangements from looking tacky. We want your baby's breath arrangement to be described with one or more of the following adjectives (which all may or may not be actual words): floofy, romantic, soft, airy, fluffy, dreamy, puffy, ethereal, cloudy, snowy, lacy, dainty, etc.
We do not want your centerpiece to be associated with any of these words or phrases: cheap, lame, very obviously do-it-yourself, skimpy, awkward, chintzy, etc. Read on for the basics of working with baby's breath and an easy how to on the ubiquitous mason jar arrangement.
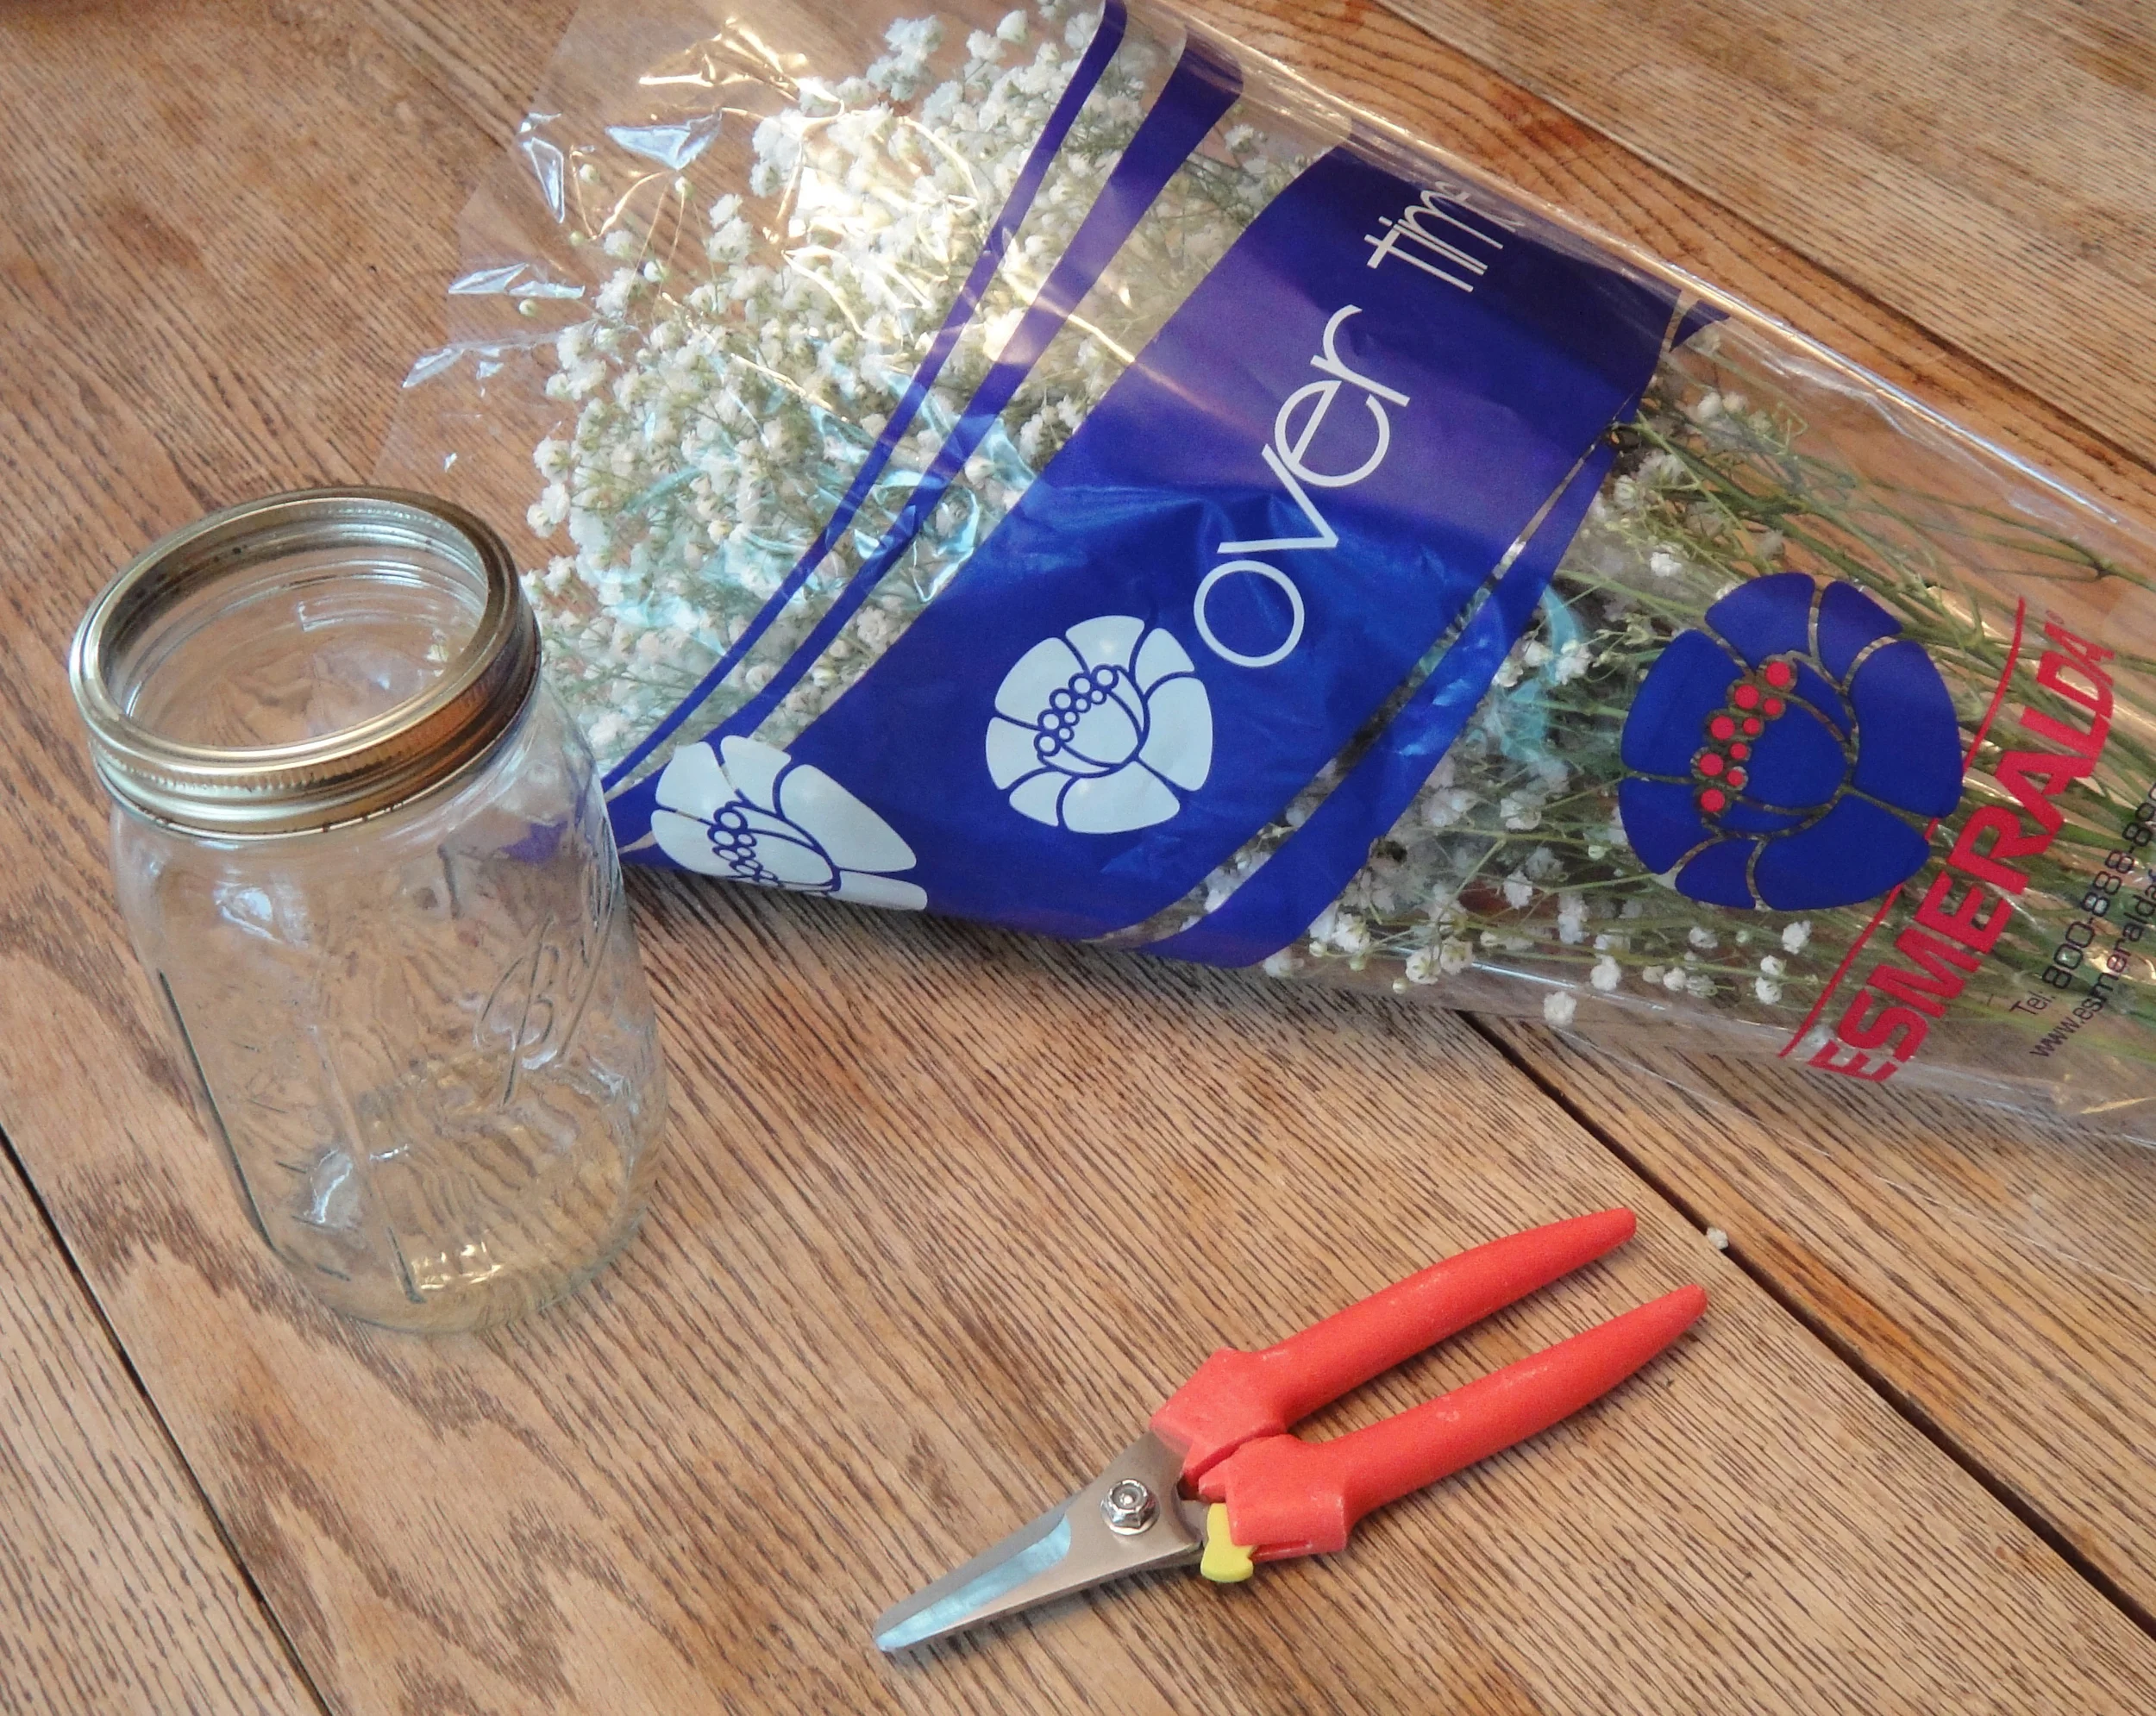
First, you'll need to gather your supplies: one bunch of baby's breath, mason jar(s), and a pair of clippers or a knife.
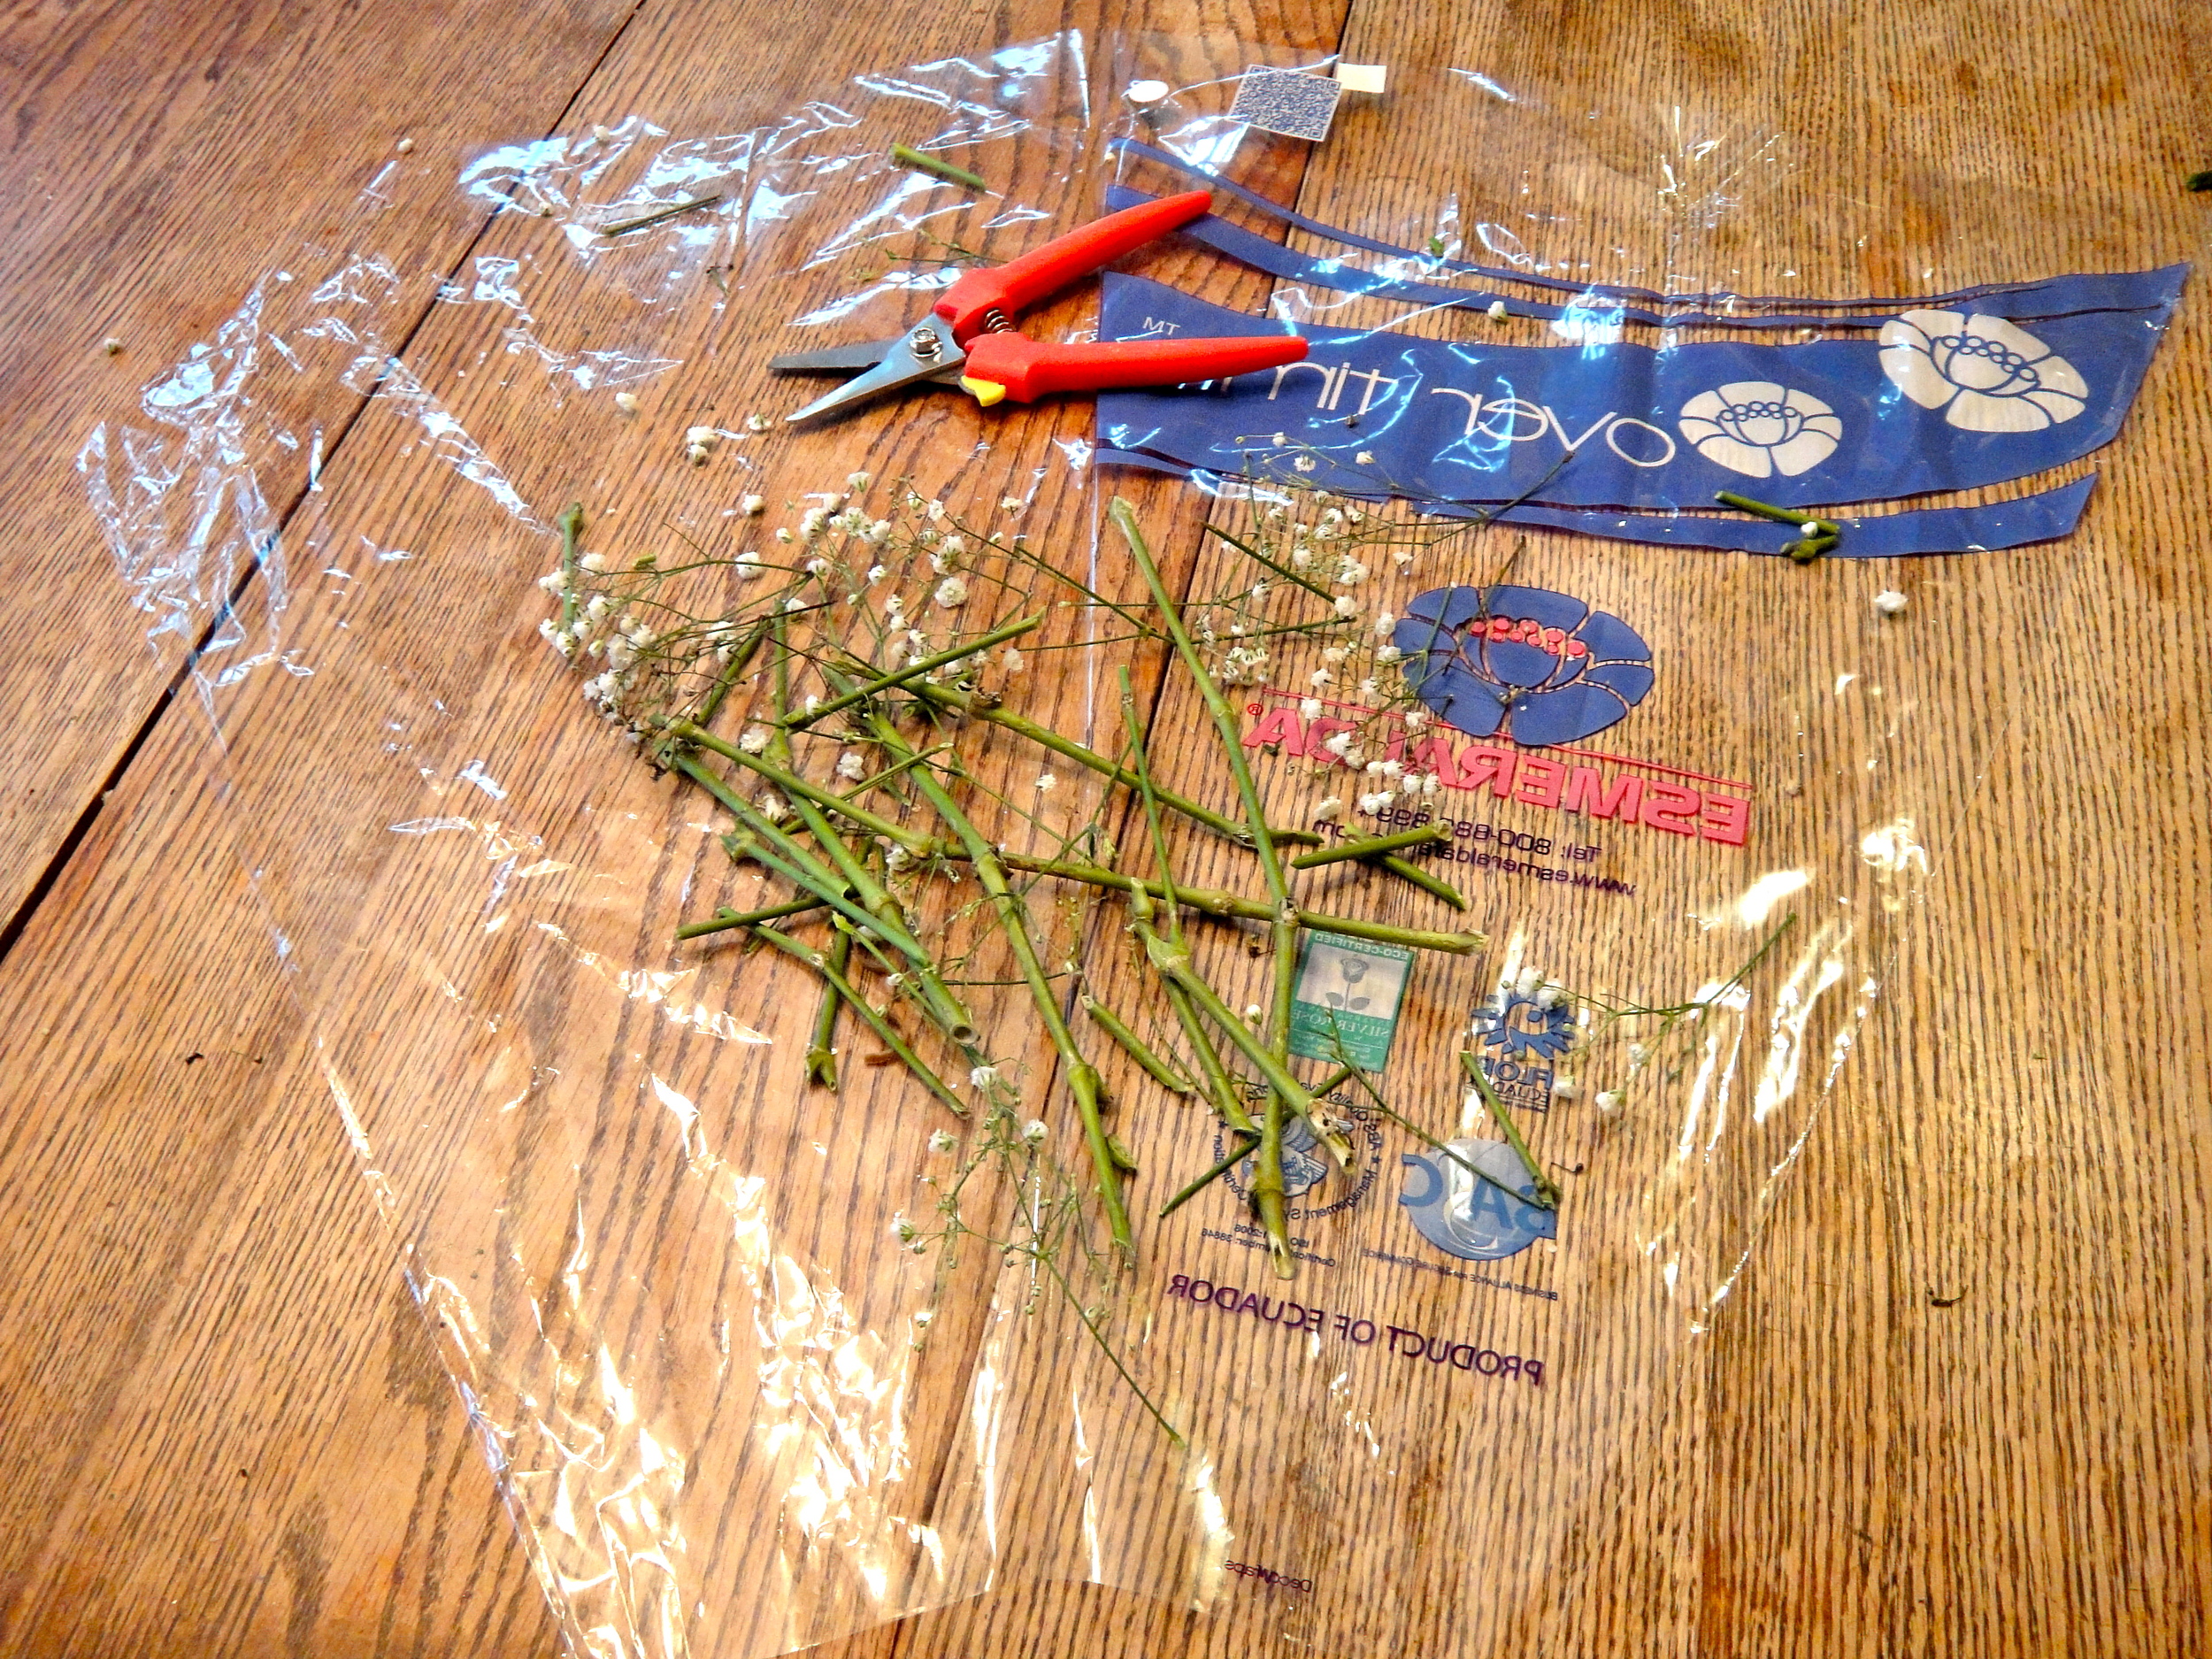
Next, tear open the plastic wrapping and cut off the rubber band. Now you'll need to gently shake apart the separate stems, and I literally mean gently SHAKE them apart. The baby's breath likes to "hold hands," so when you work with it this way you reduce the amount of breakage.

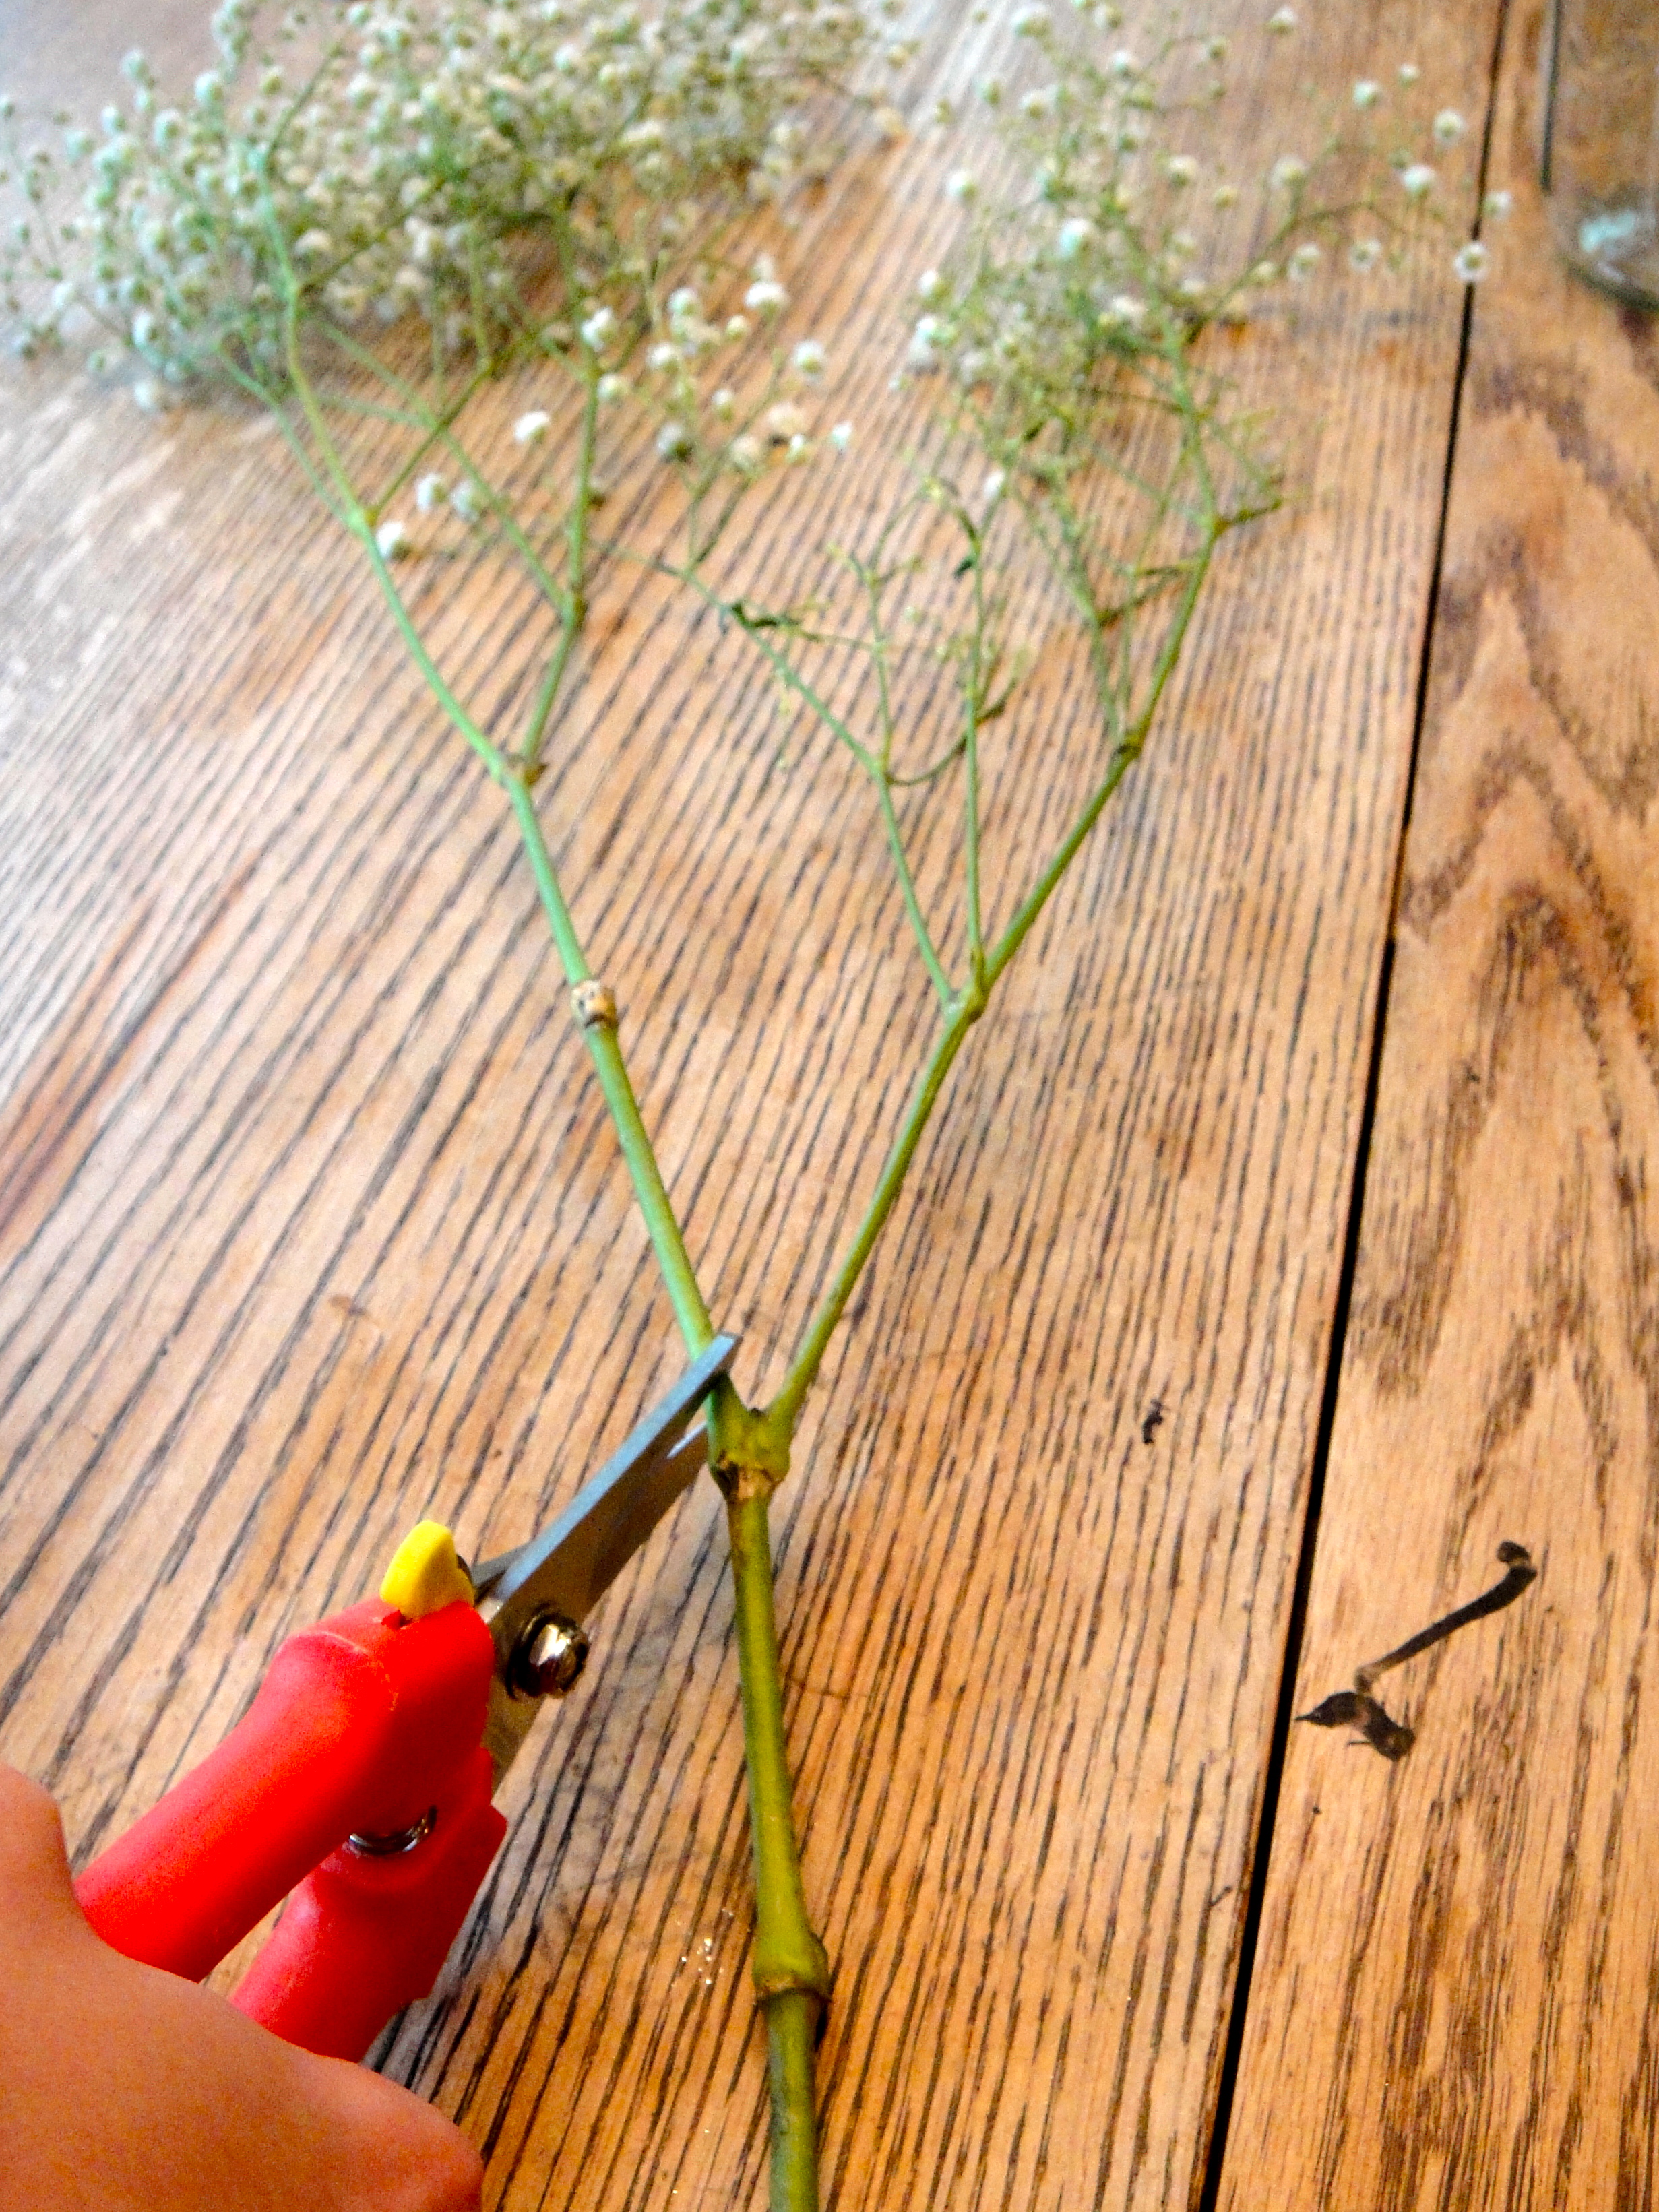
Now take one of the stems you've separated out. Cut off pieces to work with. You can maximize the amount of "usable" stems by cutting above the laterals or breaks in the stem (where they branch off). Try to cut so you have the longest possible stems on both pieces. Also, keep in mind that the stems that go in vase don't need to reach all the way to the bottom; they just need to reach the water.
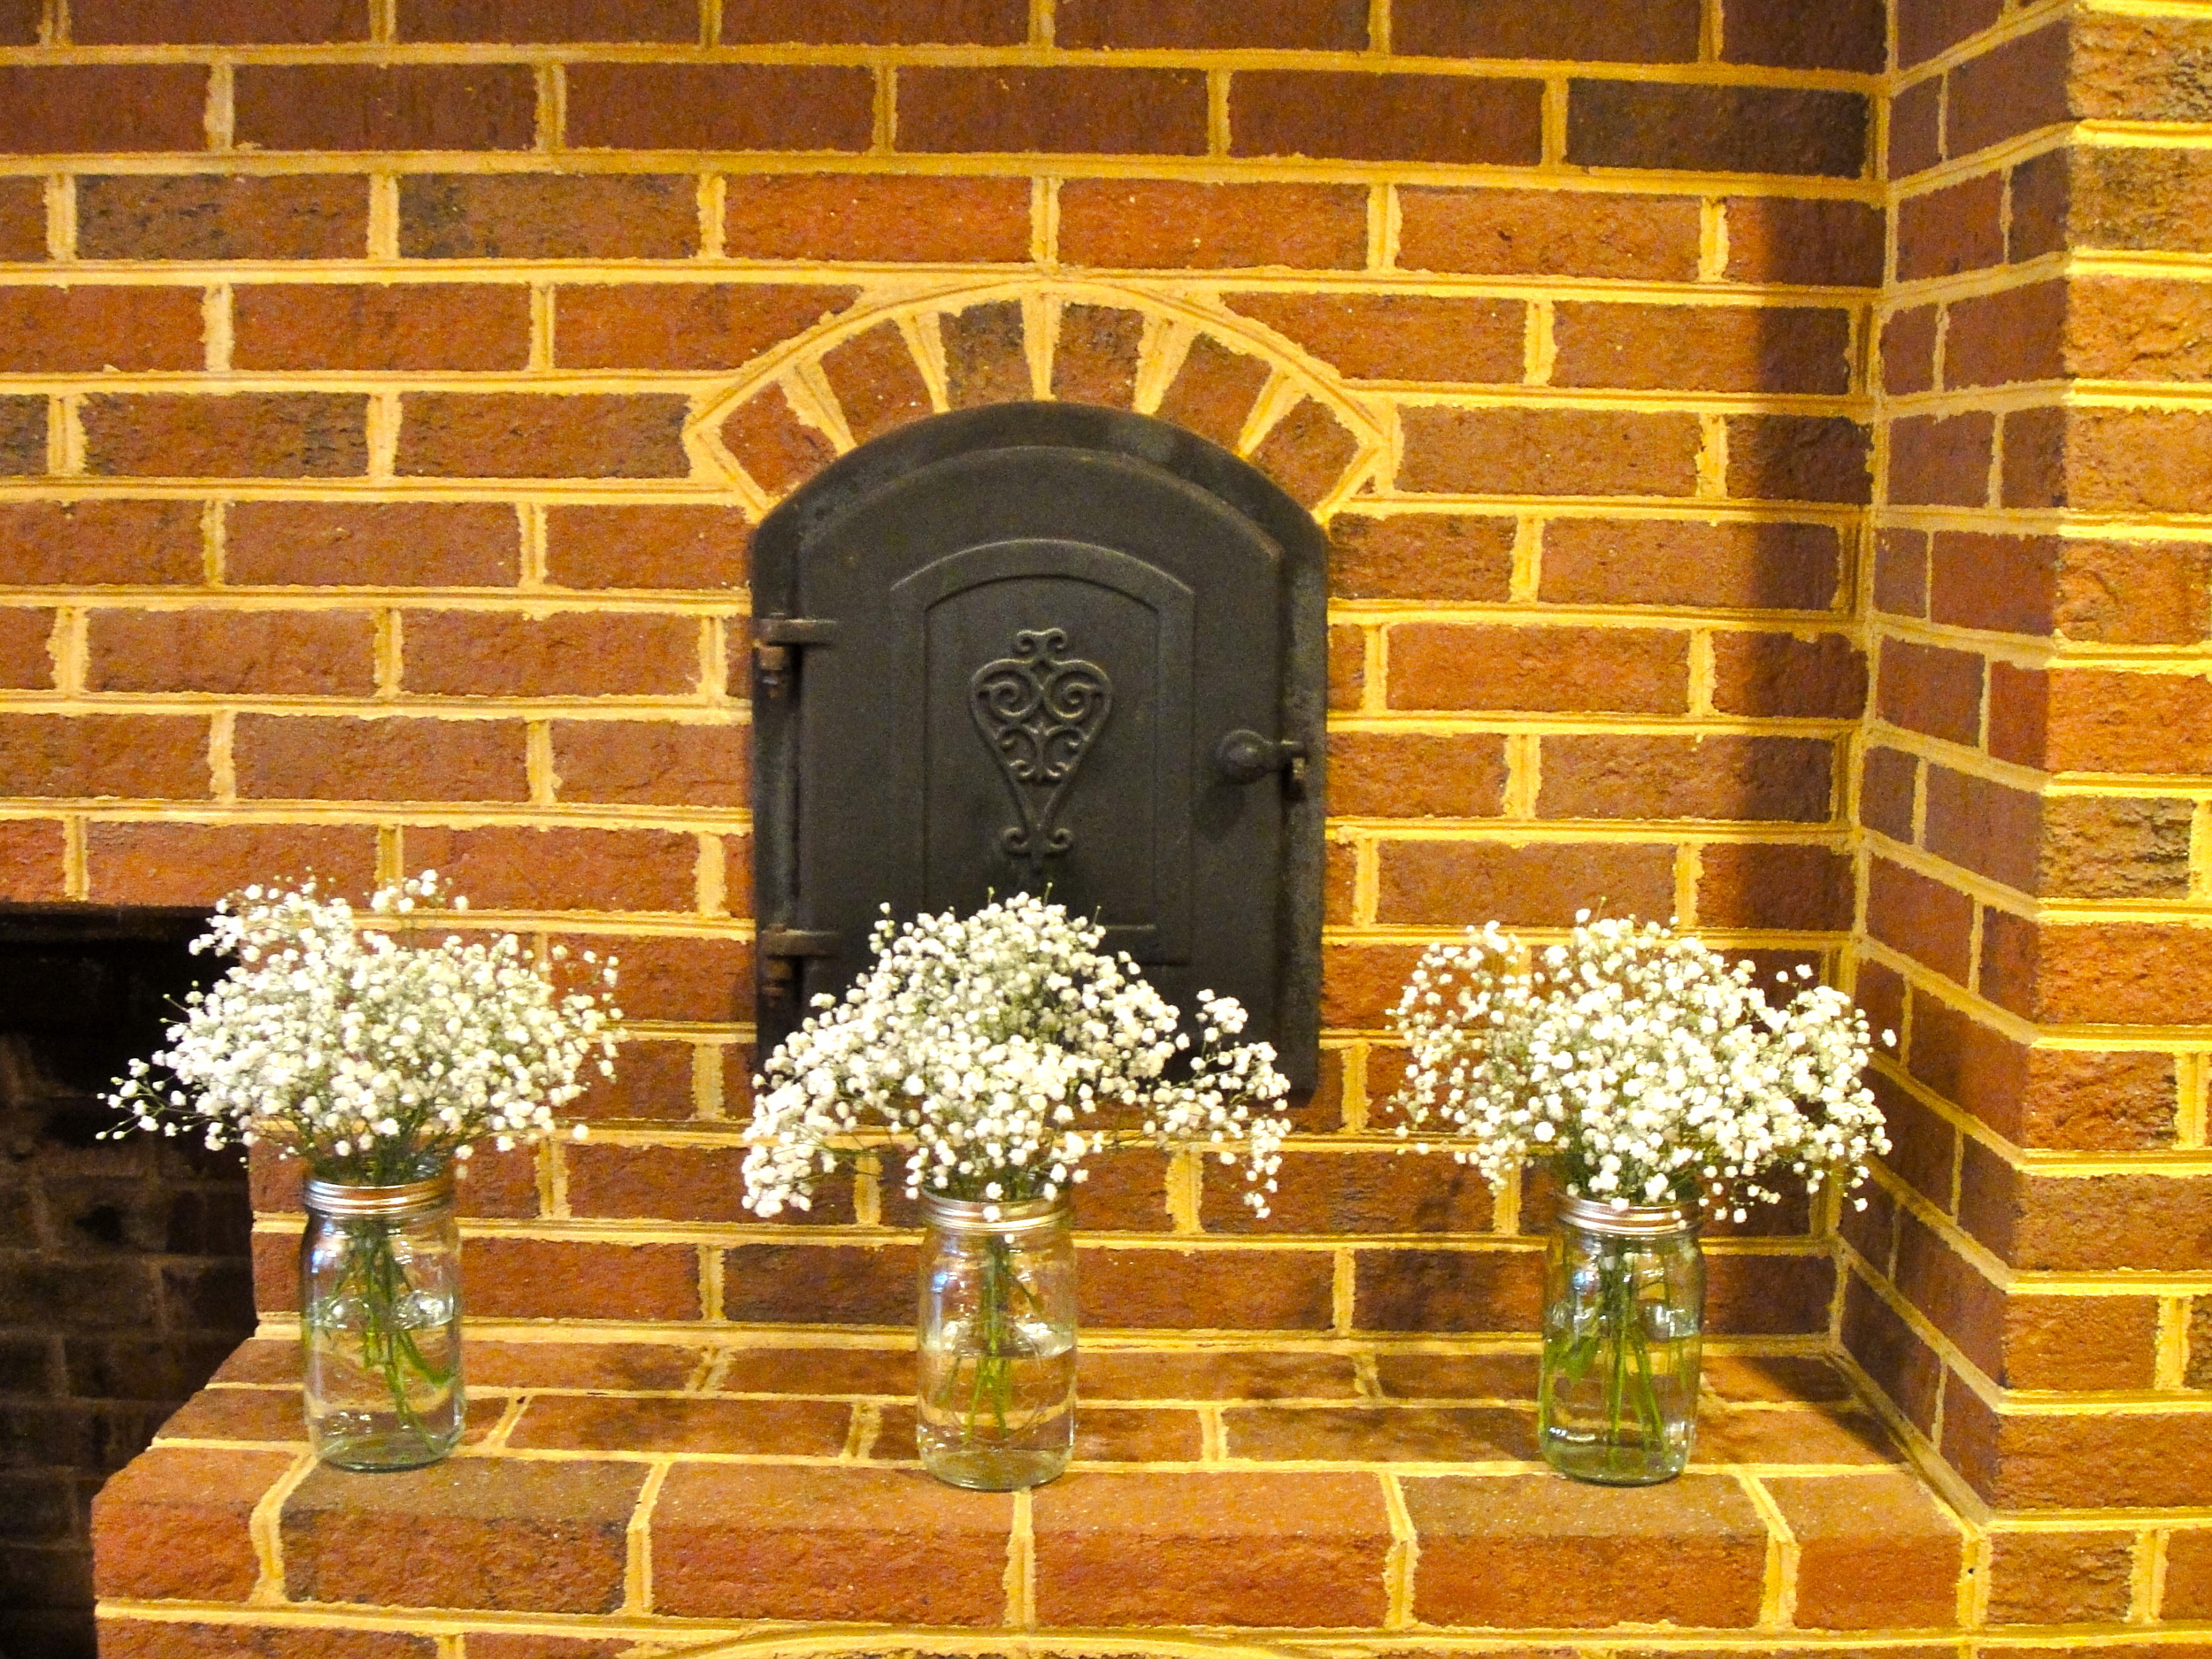
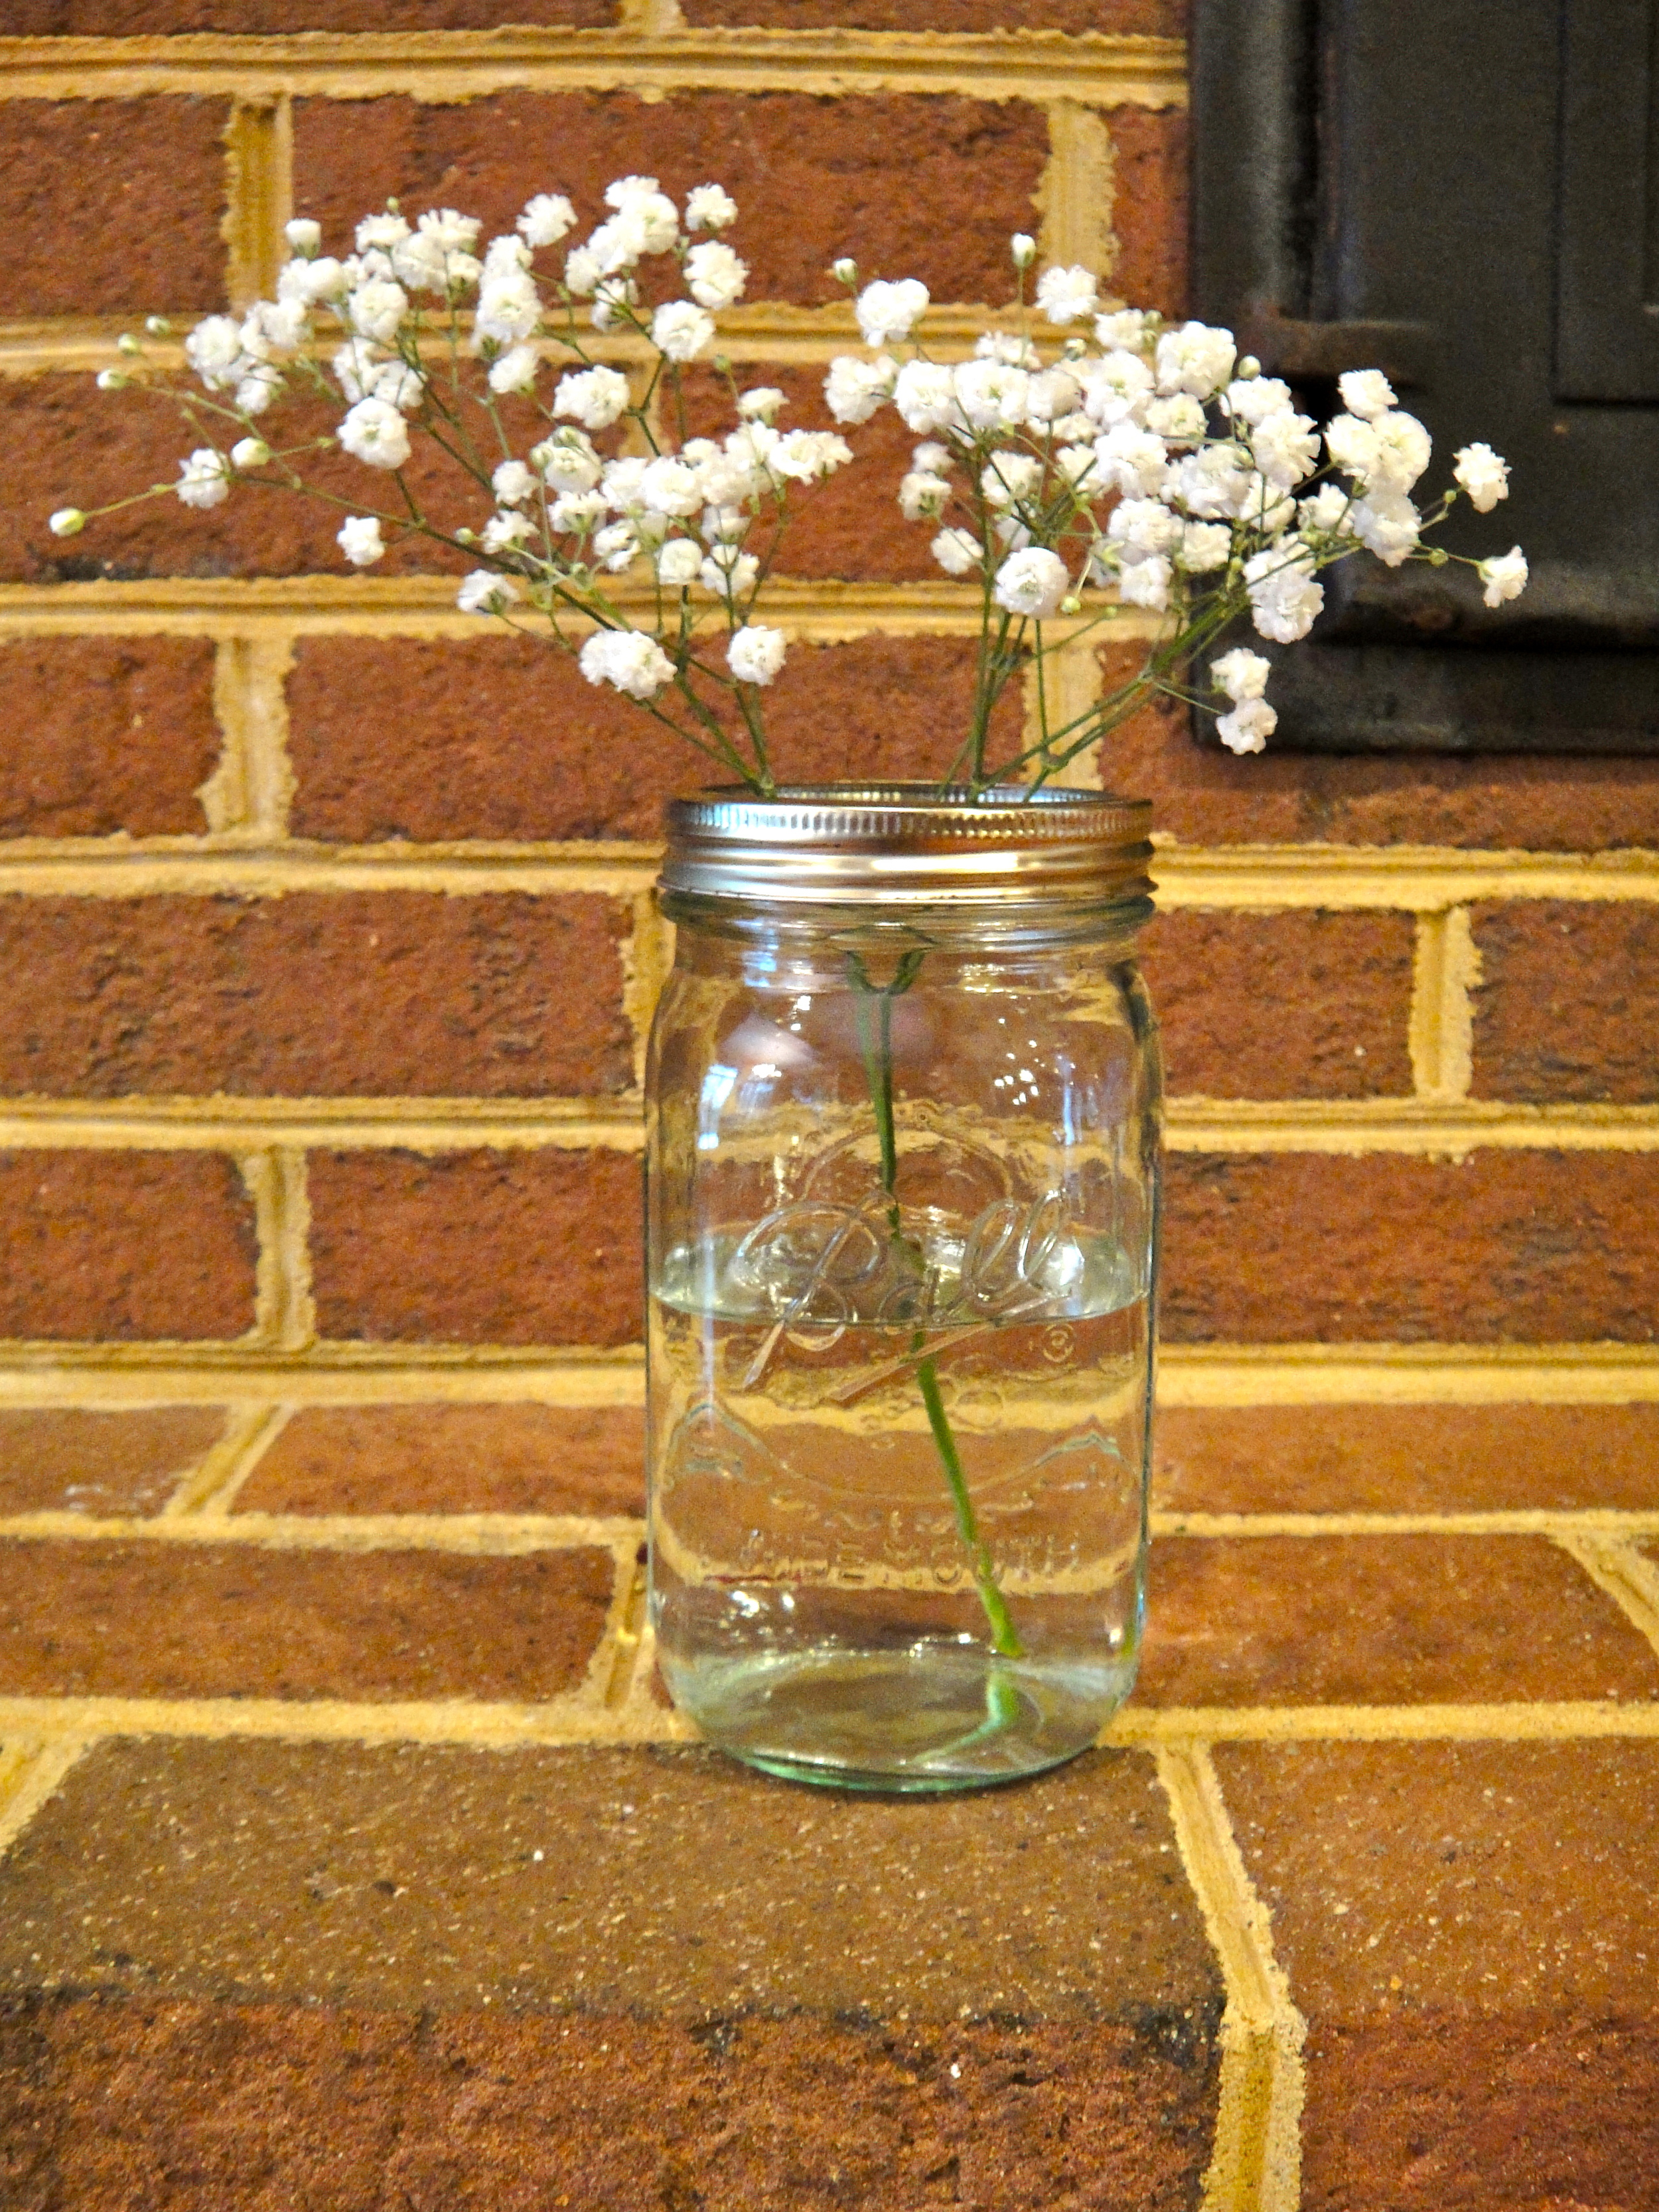
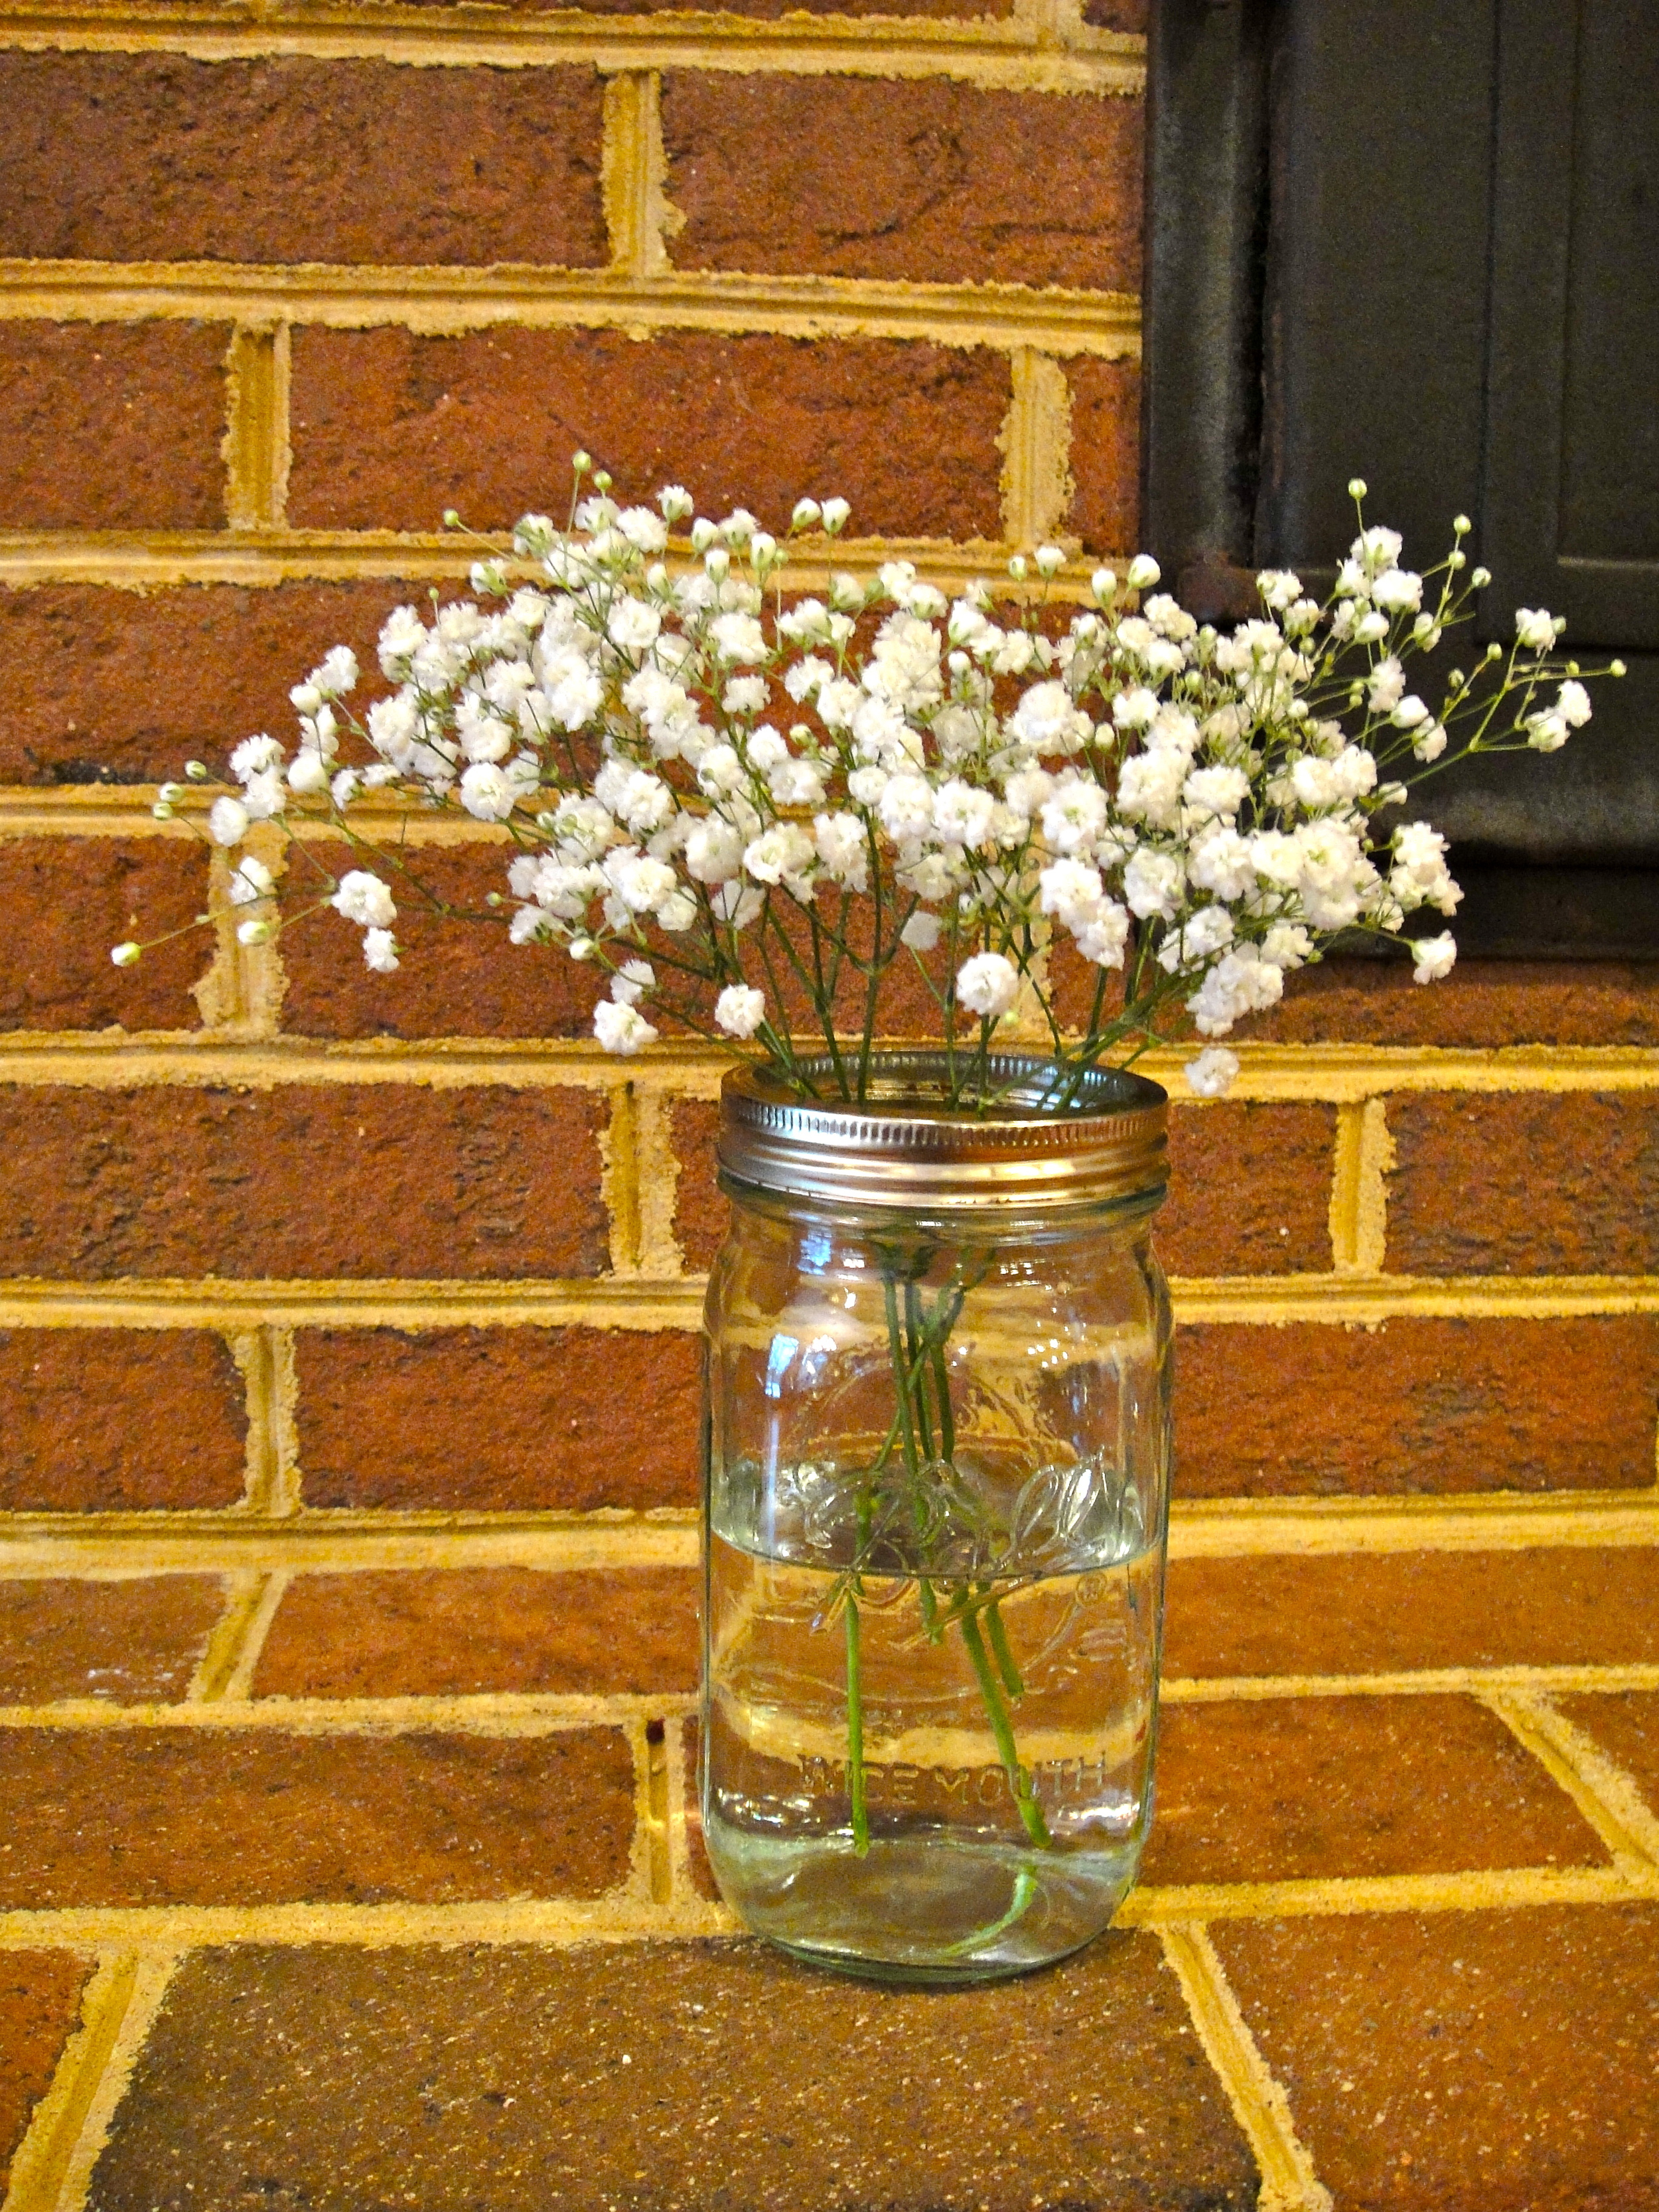
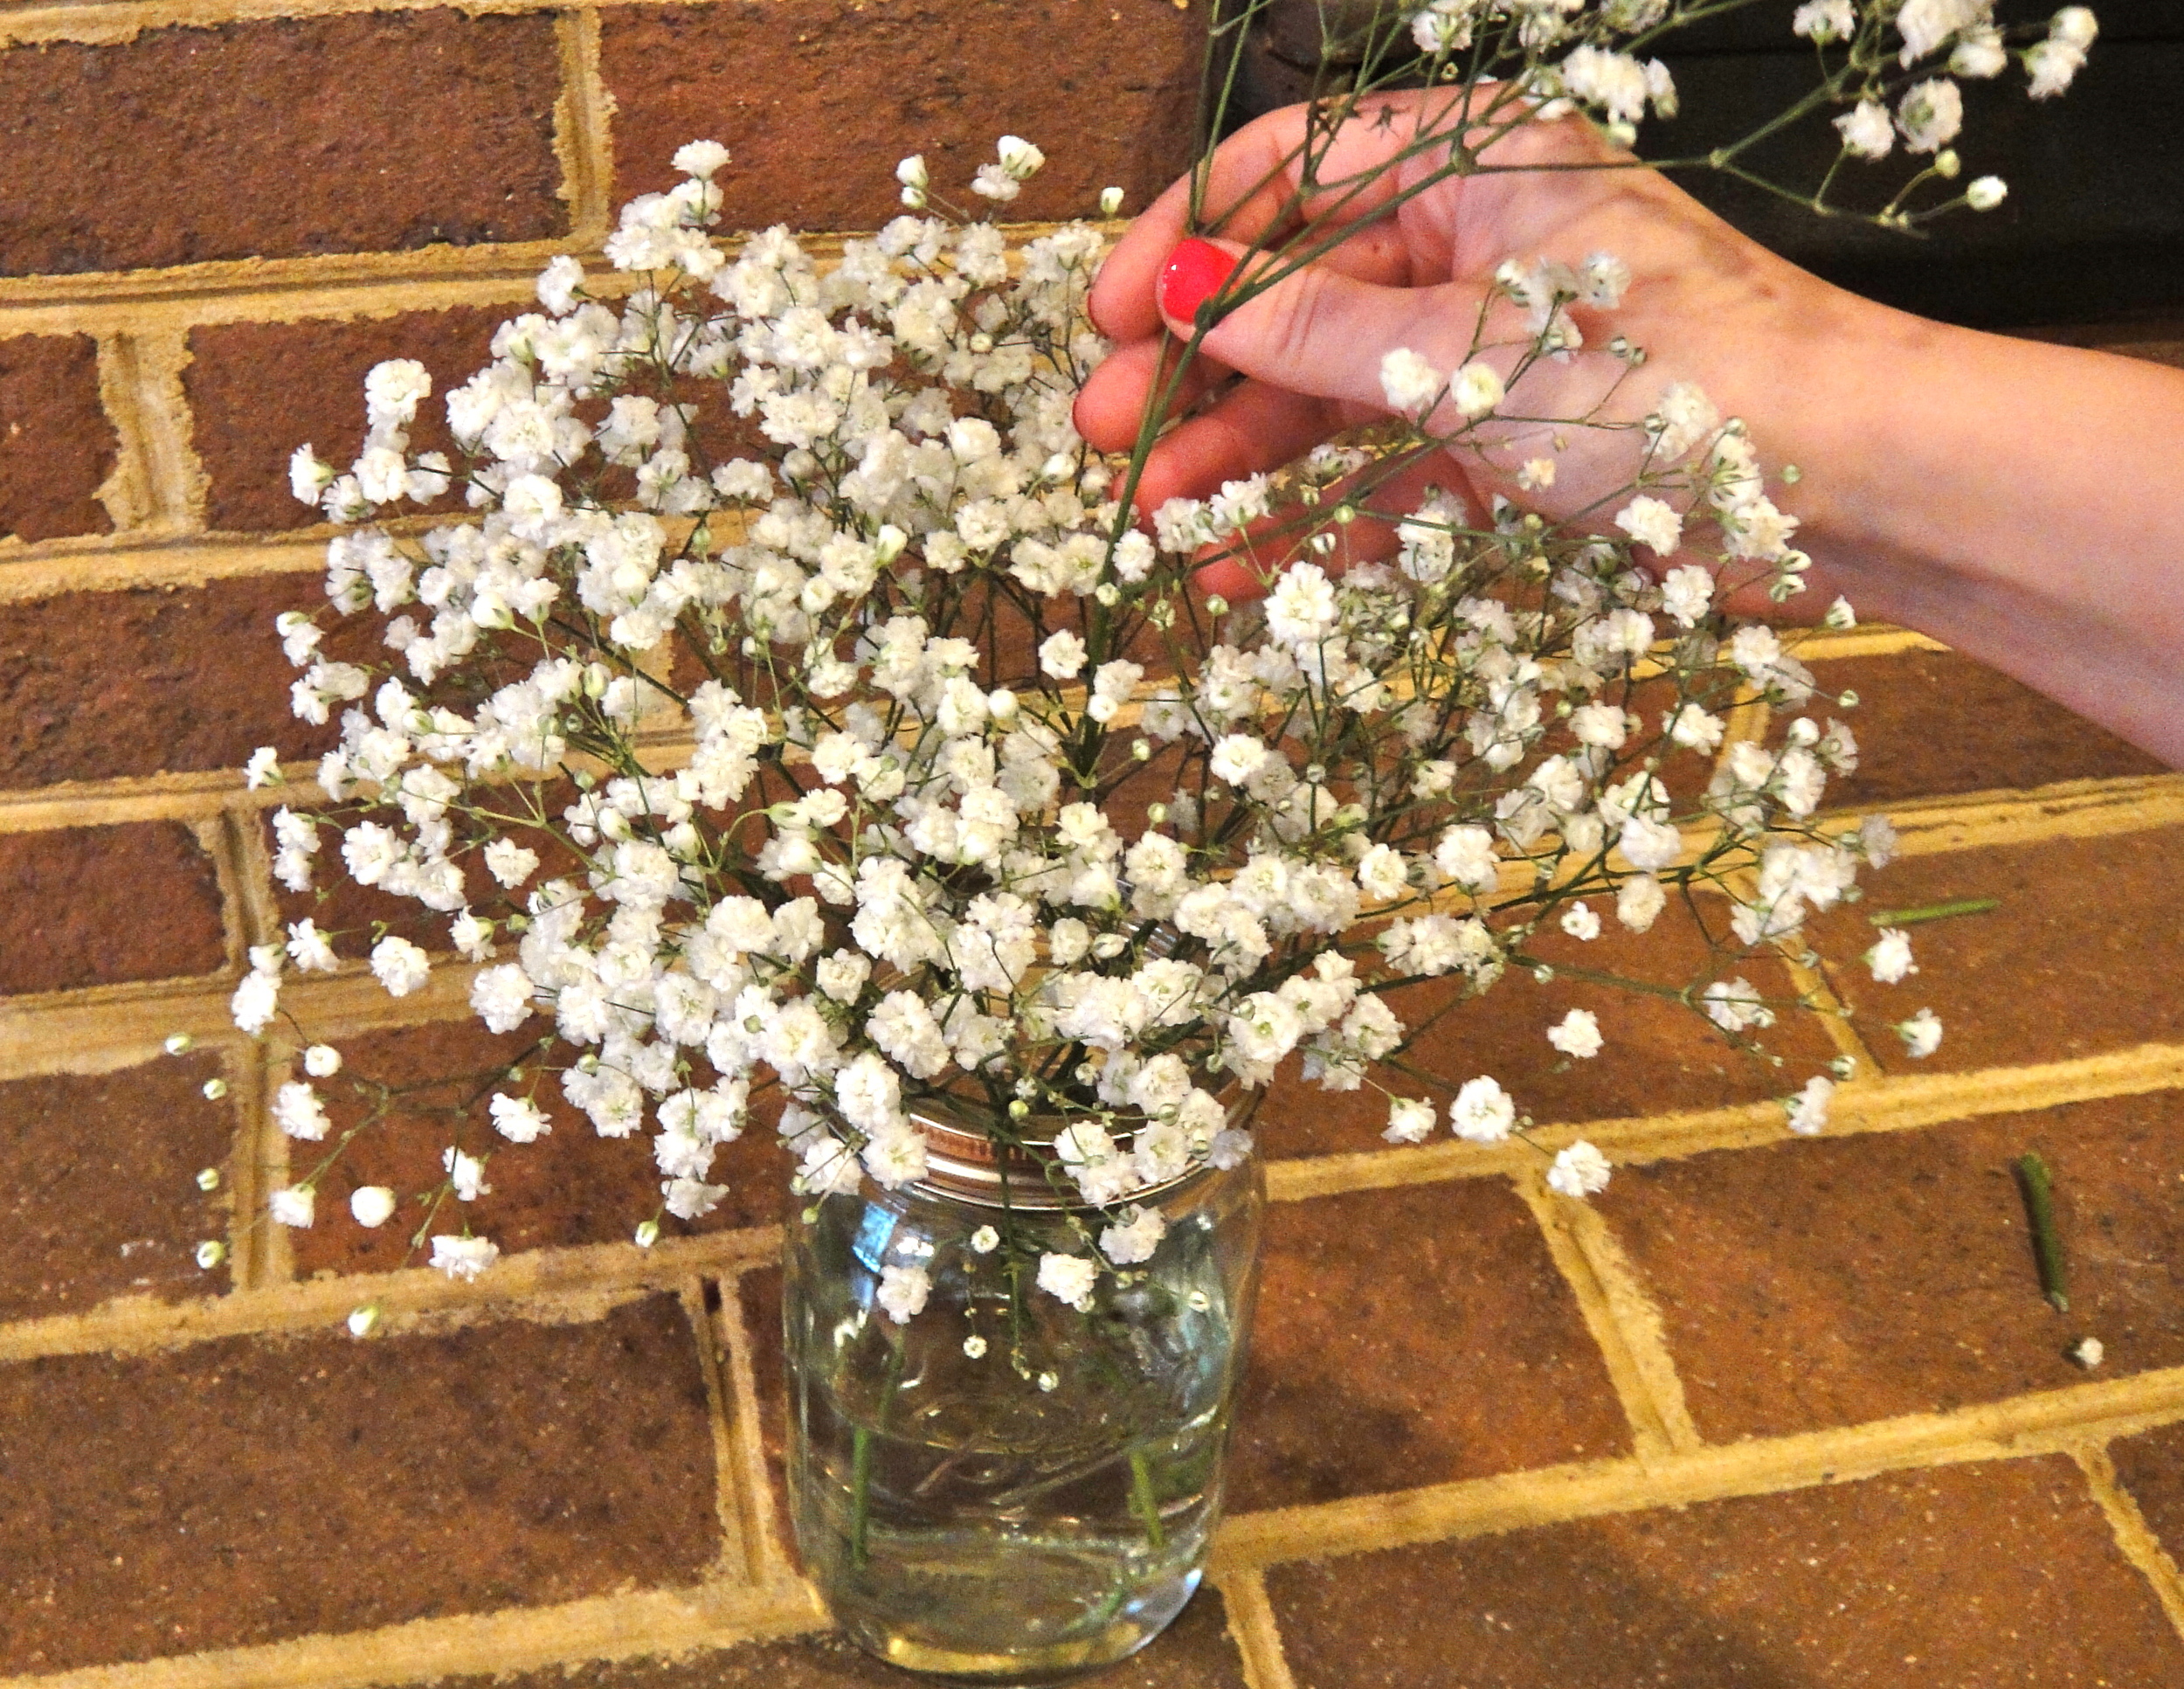
Now you can start adding stems to the jar. I've found that about one third of a bunch of baby's breath makes a nicely sized arrangement. Try to maintain a round shape as you add the pieces.
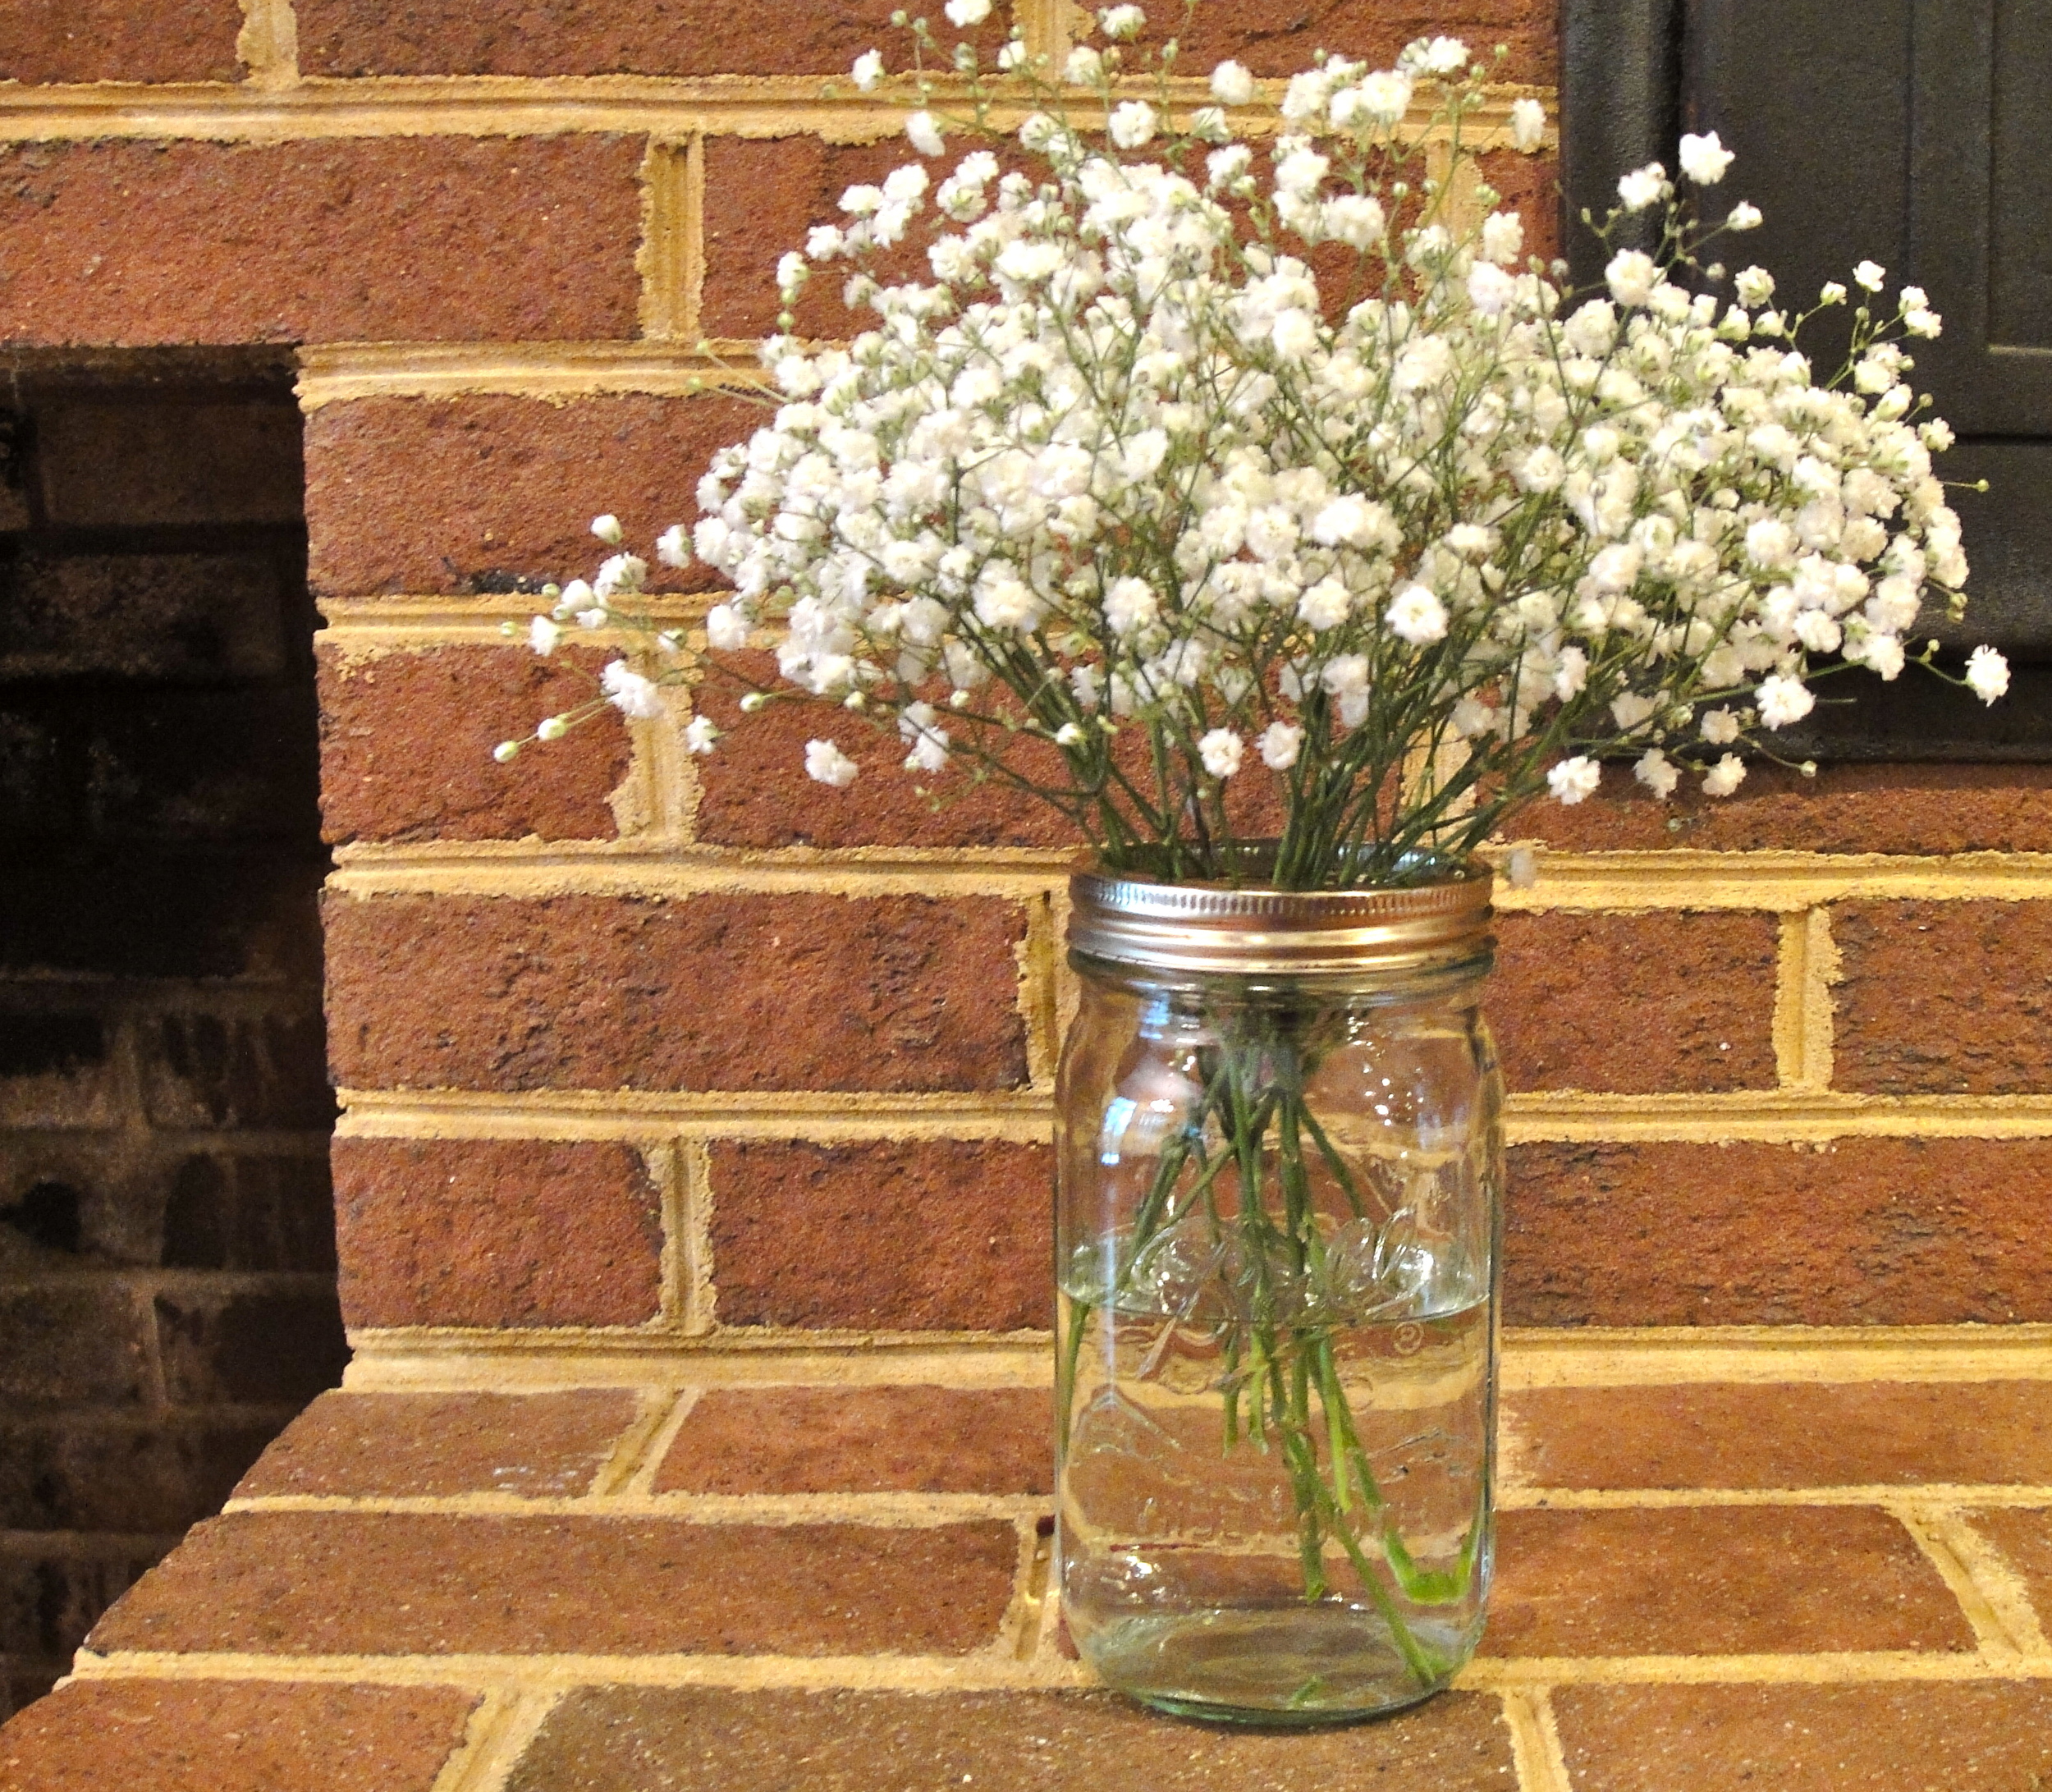
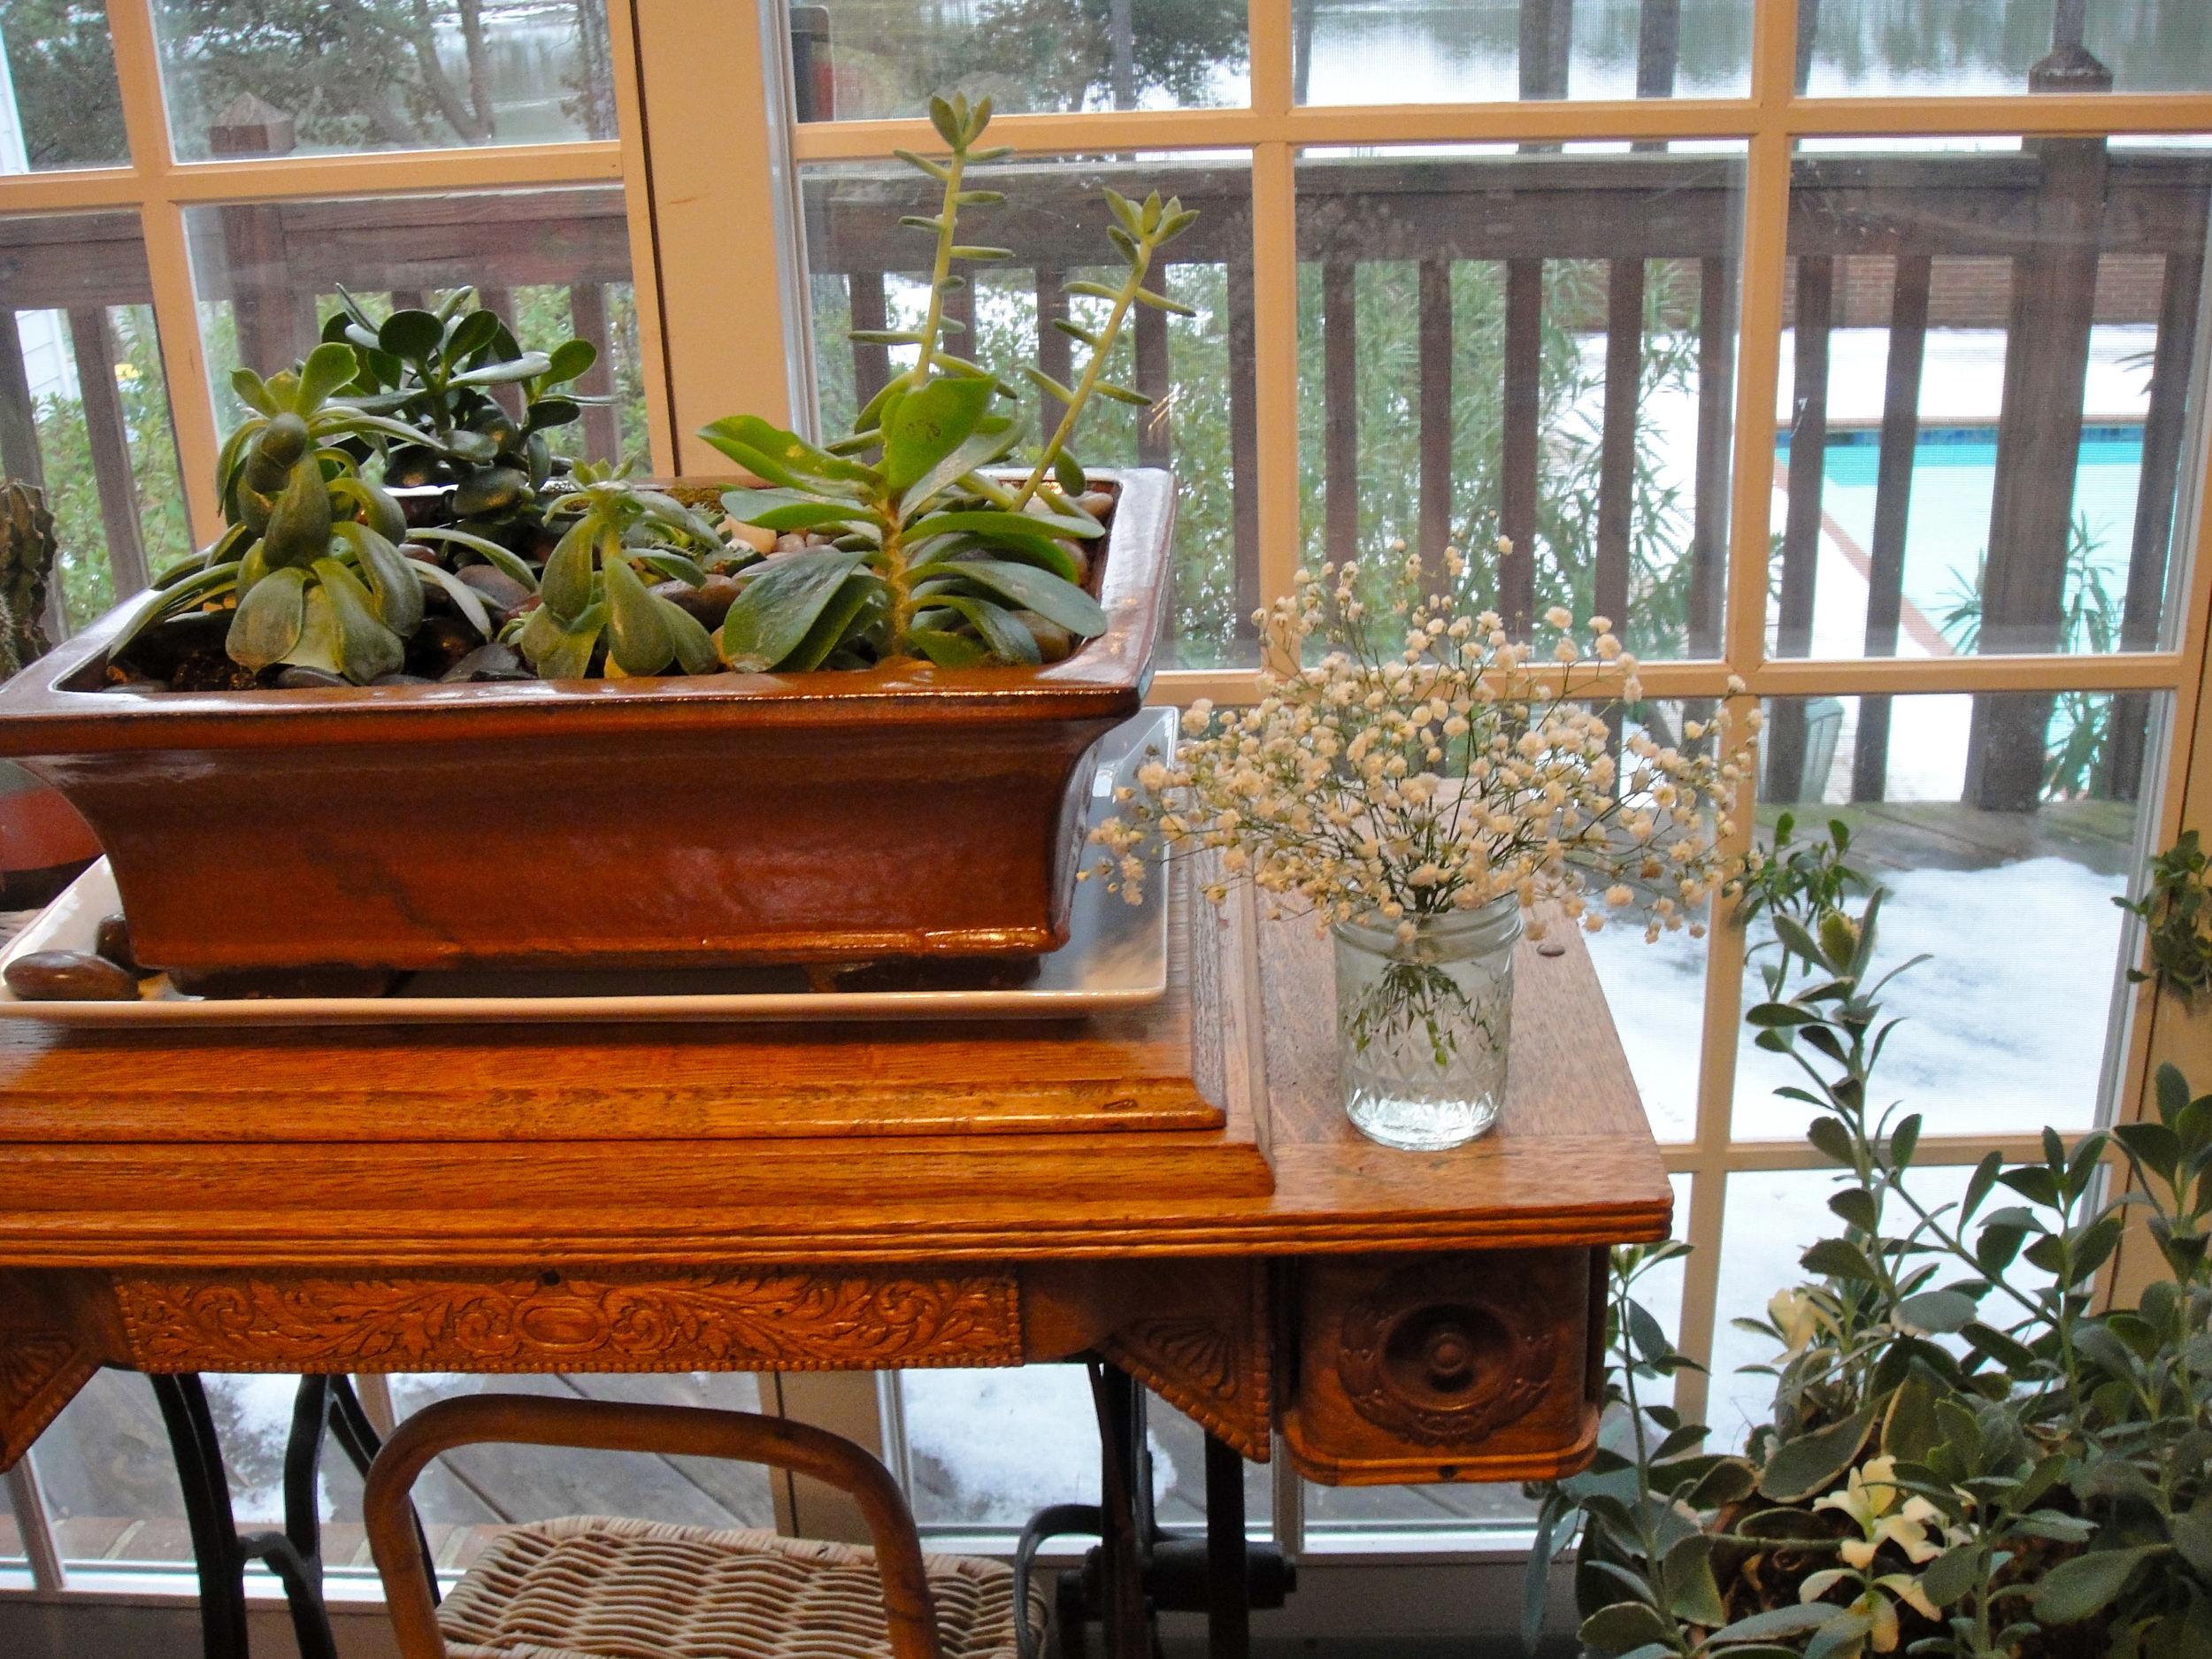
We were able to make three quart-size mason jars and one jelly jar with very little waste.